Food Blogs
How To Write A Recipe On Hungry Forever
Well, hello there! No need to explain why you’re here. We know exactly why, anyway. You’re a hidden masterchef and you want to share your recipes with the world. Well, we’re not going to stop you. In fact, we love that, and we’re going to let you go right ahed.
Here’s all the help you need in writing your very first recipe with us, on Hungry Forever.
Firstly, you’ll need your food blogger’s account on HungryForever.net. Don’t have that yet? Click here to get started on that! When you’re all set, create a new post that will open a blank post format. This is where the recipe writing begins.
Name your recipe:
You have a recipe in mind that you want to share – make sure your title says just that. Your title must read “Pork Ribs Recipe” or ” Bean Salad Recipe”, for example. A little more descriptive than that and your readers might be a little confused.
The recipe card:
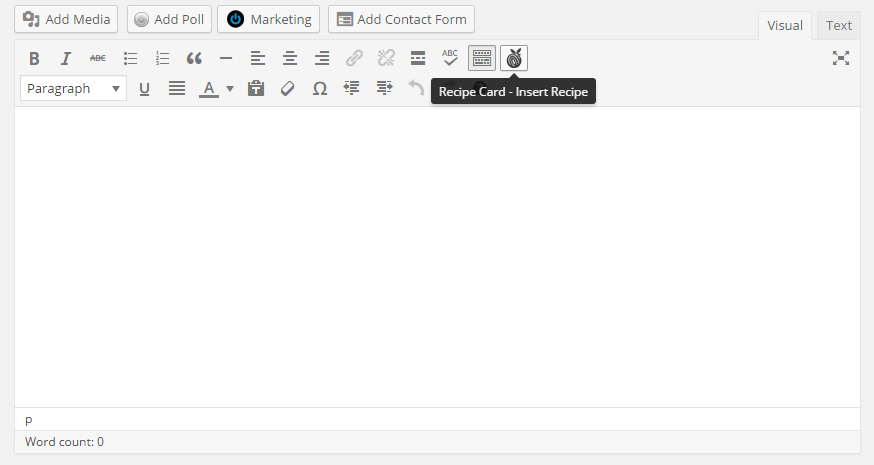
Look closely above your content box. Click on the little fruit-like symbol. That will open your recipe card where you’ll be filling in your recipe.

A new pop up should have opened that looks like this image above. Now in this, enter your sub title (in the ‘Title’ box). This can be a quick phrase that describes your recipe like ‘a healthy salad with leafy greens’, for example.
Author: Your name of course.
Adapted: In case you’re picking up on a recipe from another site, mention where you got it from. Not the link, just the name of the website would do.
Adapt Link (optional): This can carry the link from which you’ve adapted the recipe from.
Description: Here’s where you tell them what your recipe is all about, and maybe how great it tastes too, and occasions that it would be perfect for! For example, if you’re writing about a mousse dessert recipe, describe it saying something like, ‘This soft and light mousse tastes brilliant and is perfect for a dinner party!’
Prep Time, Cook Time, Total Time, Serves, Yields: Optional but helpful if added, these are little details that will help readers plan their cooking better when following your recipe.
Ingredients:
As the box suggests, one ingredient per line, and subheaders ending with a colon. The ingredients box will carry everything your recipe needs to be complete!
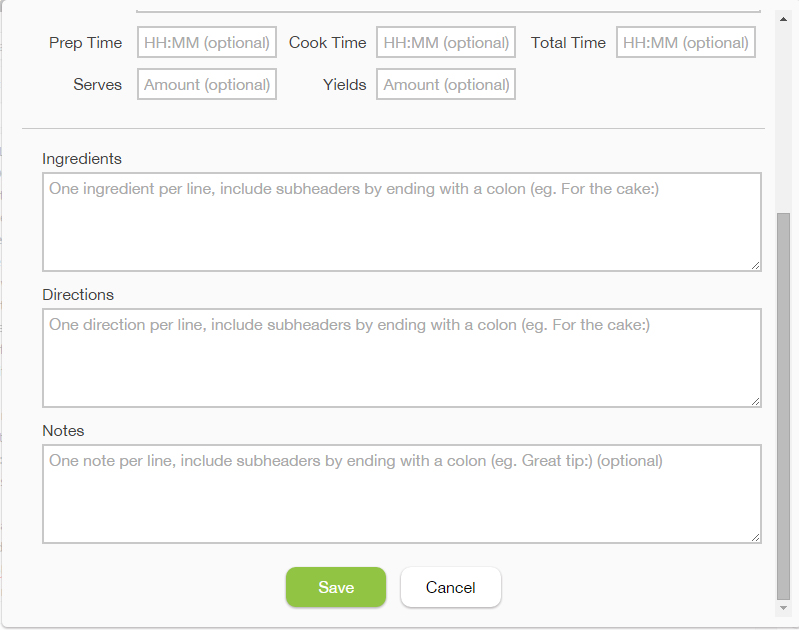
Directions: Same goes for directions – one direction per line so it’s simple to understand as well as follow. For ever different element in the dish, you may have subheadings. Make sure these end with a colon and separate directions for these follow. For exmple, ‘for the cake’ and ‘for the frosting’.
Notes: Can have anything from a serving suggestion to a storing suggestion.
Image:
See the little box on the top right with a ‘Select Image’ button in green? That’s what you need to click to get your image in the recipe. We’re sure you have great images of your special dish. We’d love for you to share your best shot of it, with just one teeny condition. The width of the image should be 720.
Now in case you don’t have pictures of your own, you can get them online but make sure they’re visually appealing and presentable. In case you’re adapting a recipe from another site, you can use the images available from the site, but make sure you’ve resized them to be at a width of 720. With that being said, don’t stretch out smaller images. Yes, they blur up big time. Make sure the image you’ve selected is larger so you can resize it.
Upload this image at the bottom of the page (not recipe card!) as well, where you’ll find the option to add ‘Featured Image’.
The last step:
Now you click ‘Save’ at the bottom of your recipe card. In the main ‘Post’ page, find ‘Publish’, a little blue button on the right of the page, and close to the top. Click it, and you’re done!
Feel free to share your new published recipe with your friends and family so they can give it a try as well!


Tuk Tuk – The Night Noodle Market at The Fatty Bao
Tuk Tuk The Night Noodle Market at The Fatty Bao Bengaluru, Karnataka – 2nd April, 2024 – Mark your...
Which mangoes are coming in this season? Attributed to – Team Madras Mandi
Which mangoes are coming in this season? Attributed to – Team Madras Mandi India accounts for a staggering 50% of...
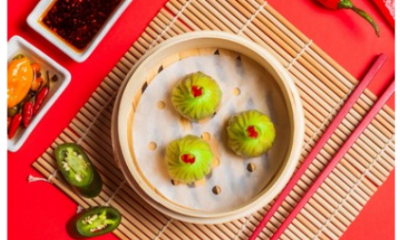

Spicing it up! : Foo’s Fiery Edit Menu Is Back
Spicing it up! : Foo’s Fiery Edit Menu Is Back Get ready to turn up the heat with Foo’s much-awaited...
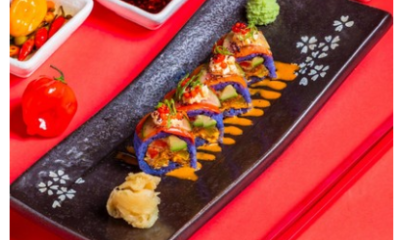

Experience the Fiery Edit Special Extravaganza at Foo
Experience the Fiery Edit Special Extravaganza at Foo Get ready for a Spicy feast like no other! Commence on a...
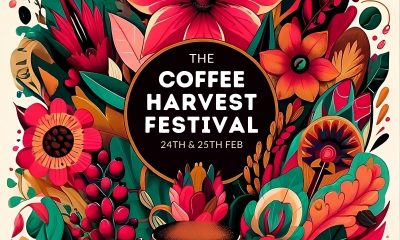

From Field to Feast: Maverick & Farmer Celebrates the Harvest Festival with an Immersive Weekend
From Field to Feast: Maverick & Farmer Celebrates the Harvest Festival with an Immersive Weekend A curated experience, workshops, exciting...